Quickstart (CLI)
This guide provides a step-by-step approach to creating a mock server and tests for a simple Go application using only the proxymock CLI.
- Local-first: proxymock keeps recorded traffic local by default.
- One-time activation: proxymock runs locally, but you register a valid email once via
proxymock initto activate it. It's free and your traffic stays on your machine. - Optional cloud sync: push snapshots only when you explicitly choose to.
- Enterprise controls: if your org requires cloud boundary ownership, pair workflows with BYOC and use DLP for sensitive fields.
Choose Your Environment
Select your environment below and all instructions will update accordingly. If you prefer to run everything locally pick your operating system. If you want to access a pre-built environment in the cloud check out GitHub Codespaces.
- 🍎 macOS
- 🐧 Linux
- ☁️ Codespaces
- 🔧 Other
You've selected macOS. All commands below are optimized for macOS systems.
You've selected Linux. All commands below are optimized for Linux systems.
You've selected GitHub Codespaces. All commands below are optimized for the Codespaces environment with special notes for port forwarding and authentication.
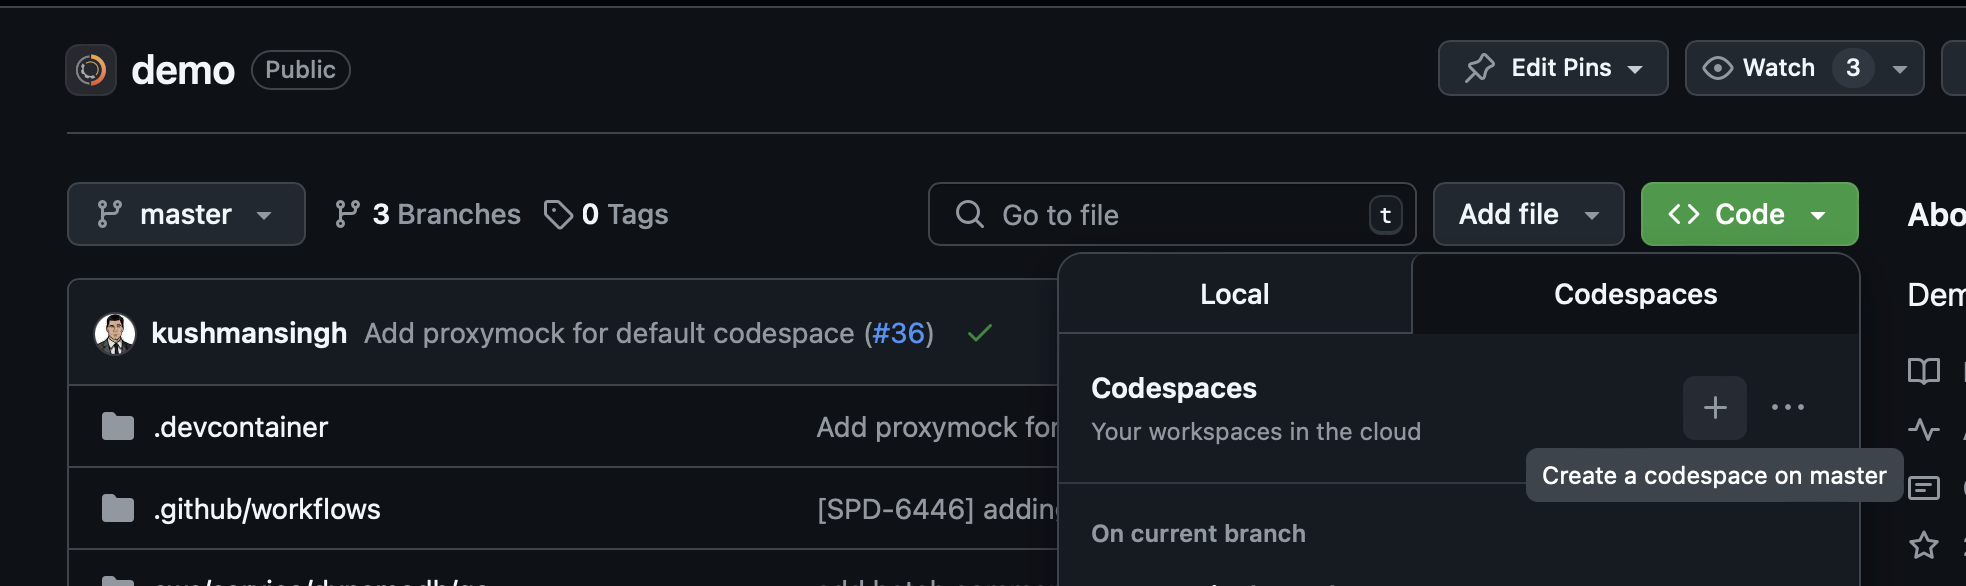
Setting up Codespaces
To get started with the mock-lab Codespace:
- Go to github.com/speedscale/mock-lab
- Click the green "Code" button
- Select the "Codespaces" tab
- Click "Create codespace on main"
- Wait for the environment to initialize (usually 1-2 minutes)
- Once ready, you'll have a VS Code environment in your browser with all 7 runtimes and the proxymock CLI pre-installed
You've selected Other. See our detailed installation guide for your specific system.
Before you begin
- 🍎 macOS
- 🐧 Linux
- ☁️ Codespaces
- 🔧 Other
Make sure you have:
- A terminal or command prompt open to run proxymock
- A separate terminal or command prompt open to run the demo app
- git installed
- go version 1.23.1 or newer installed
Make sure you have:
- A terminal or command prompt open to run proxymock
- A separate terminal or command prompt open to run the demo app
- git installed
- go version 1.23.1 or newer installed
Make sure you have:
- A GitHub account with access to Codespaces
- The mock-lab Codespace running (note that go and proxymock are pre-installed)
- Two terminal windows open in your Codespace
Make sure you have:
- A terminal or command prompt open to run proxymock
- A separate terminal or command prompt open to run the demo app
- git installed
- go version 1.23.1 or newer installed
For this example we'll be using a simple demo app that accepts an API request, calls a downstream API and returns the results.
Step 1: Install proxymock
- 🍎 macOS
- 🐧 Linux
- ☁️ Codespaces
- 🔧 Other (Detailed)
Install with Homebrew:
brew install speedscale/tap/proxymock
Run the install script:
sh -c "$(curl -Lfs https://downloads.speedscale.com/proxymock/install-proxymock)"
No need to run any install scripts:
proxymock is automatically available in the mock-lab Codespace.
For other operating systems and more detailed instructions, see the installation instructions.
Need another OS like Windows or are you having issues? See advanced installation.
Step 2: Get and register your API key
Easiest path: Run proxymock init with no arguments and use the browser sign-in flow. Your configuration is saved automatically.
If you already have a key or need a headless flow: Get it from sign up or, for enterprise customers, the Profile page. Then register it:
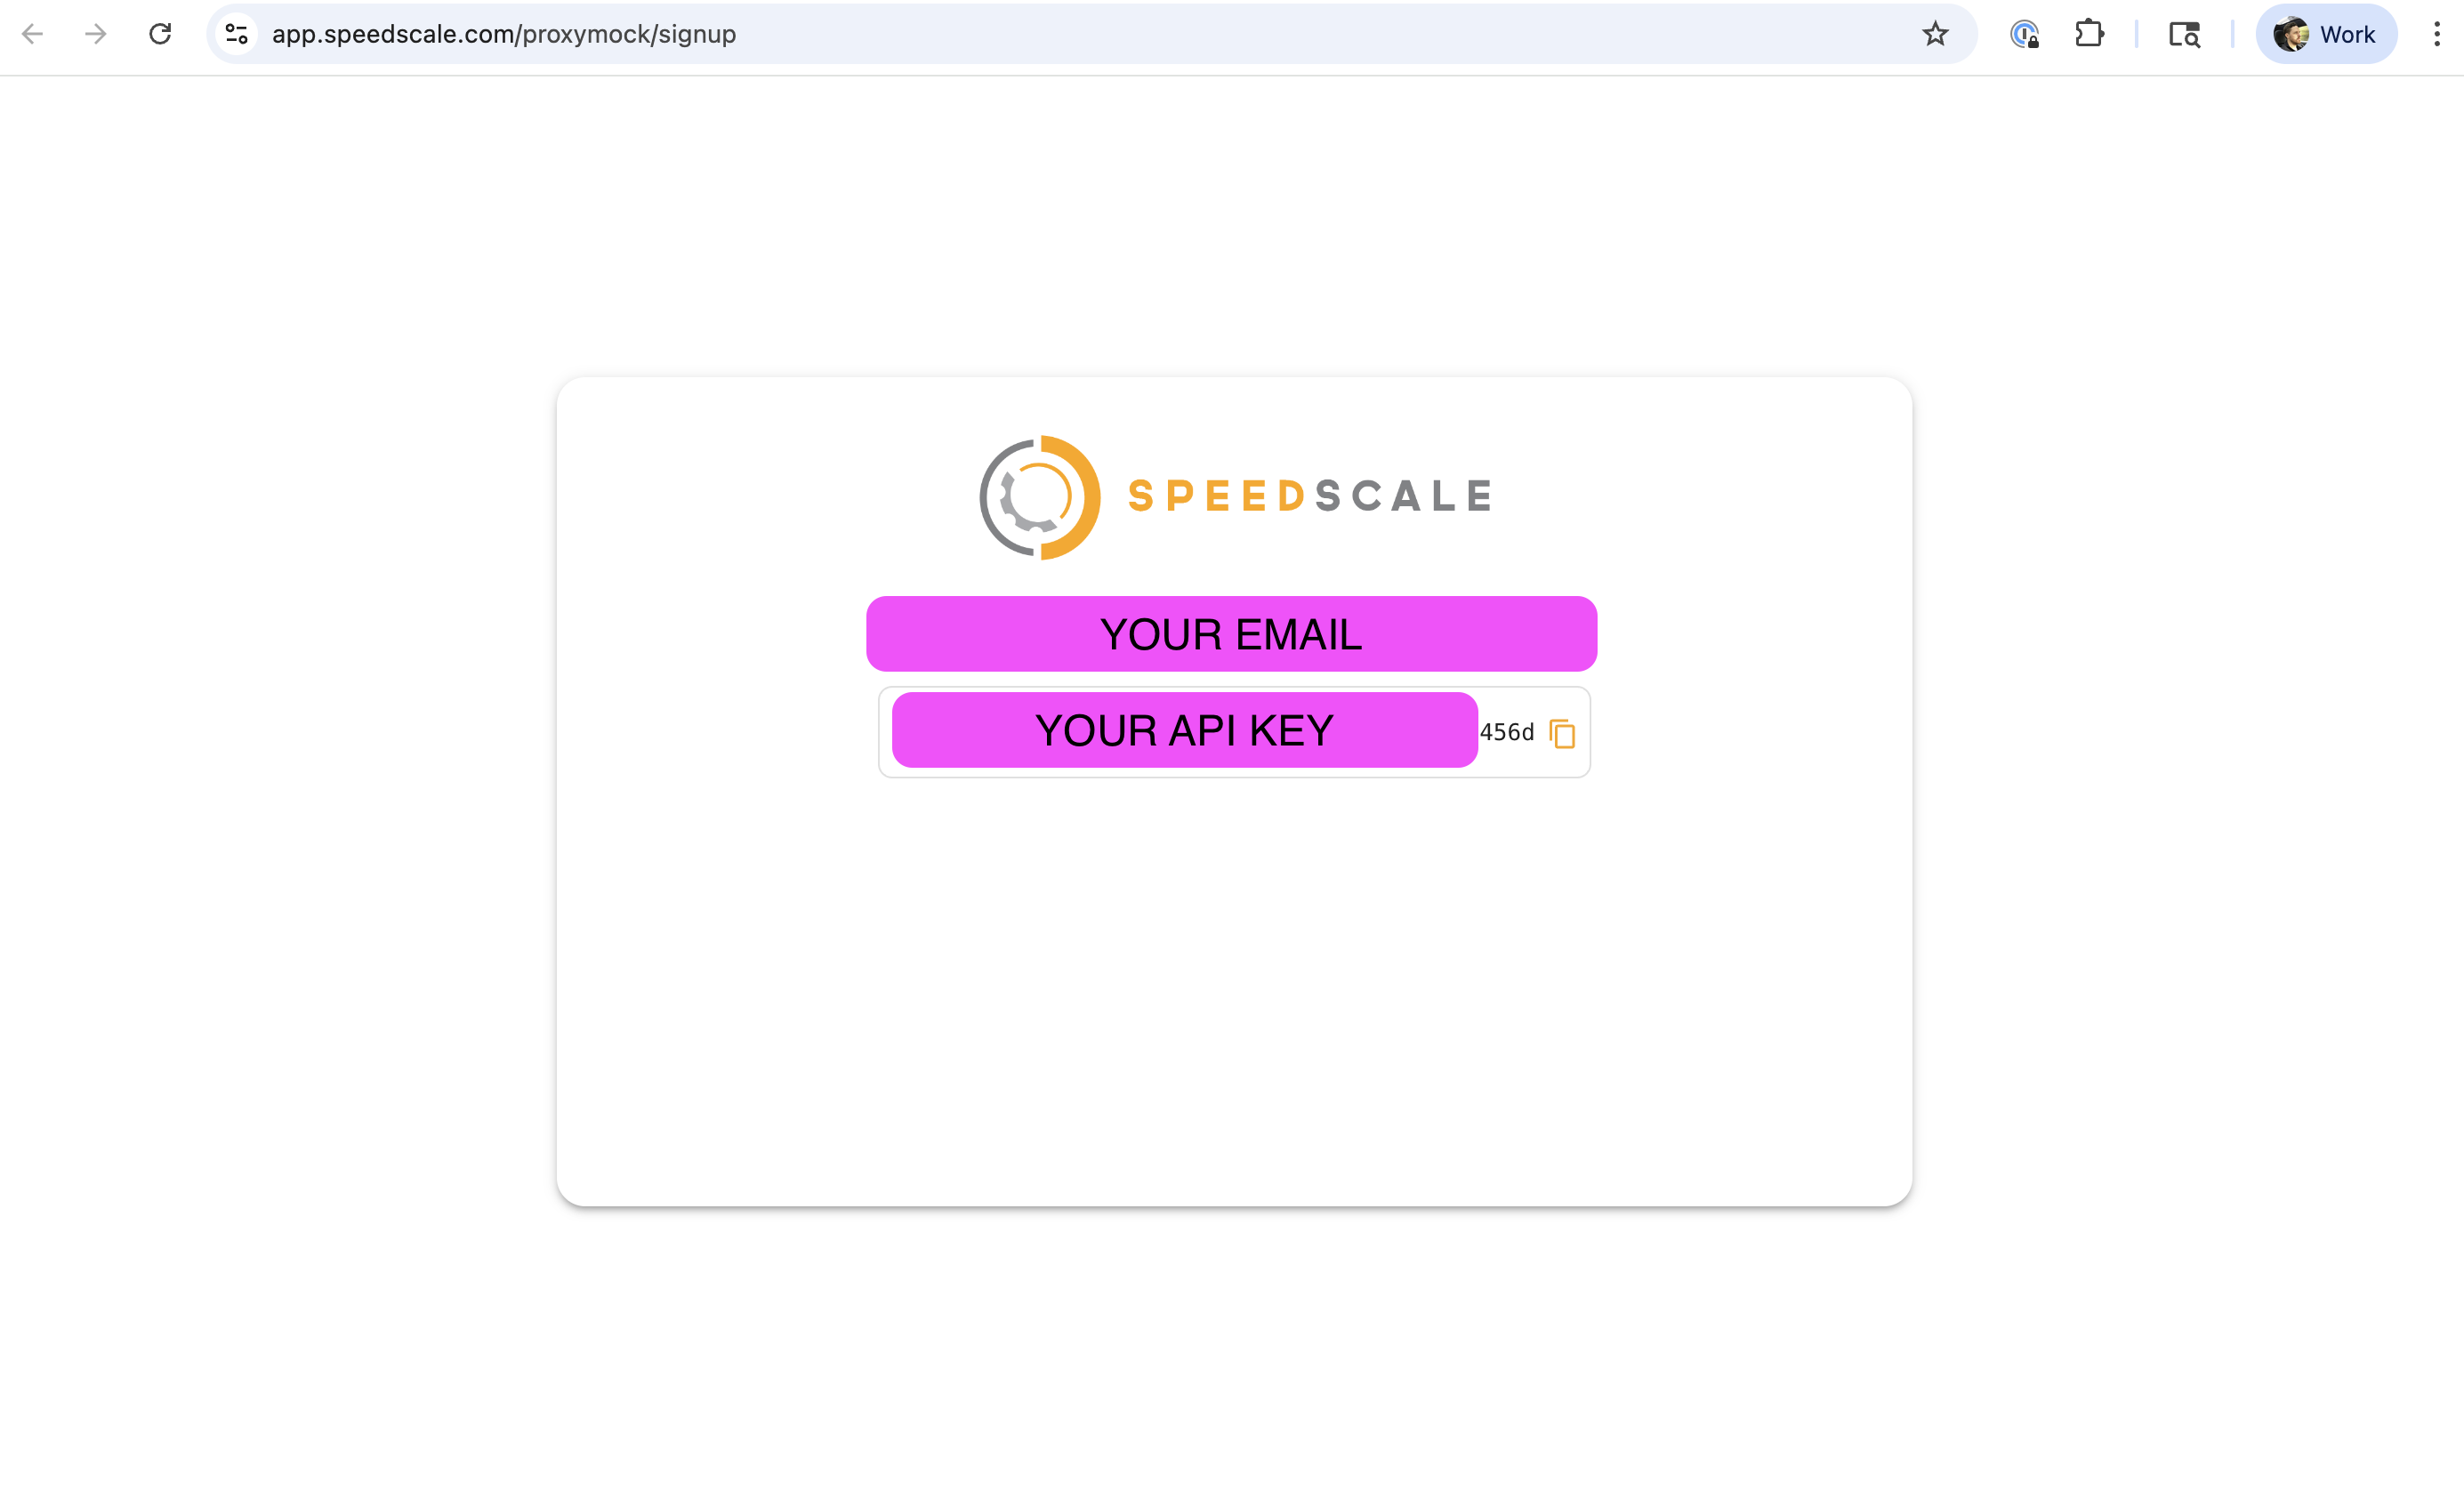
proxymock init --api-key <your key>
For more detail (enterprise, CI, troubleshooting), see Initialize API Key.
If you want the language-specific landing pages after this Go-first quickstart, jump here:
- Java — Java demo app
- .NET — .NET demo app
- Node.js — Node.js demo app
- Go — Go demo app
- Python — Python demo app
- Ruby — Ruby demo app
- C++ — C++ demo app
Step 3: Install the demo app and start recording
- 🍎 macOS
- 🐧 Linux
- ☁️ Codespaces
- 🔧 Other (Detailed)
git clone https://github.com/speedscale/mock-lab && cd mock-lab/go && proxymock record -- go run .
git clone https://github.com/speedscale/mock-lab && cd mock-lab/go && proxymock record -- go run .
If you're using the mock-lab Codespace, the repository is already cloned. Navigate to it and start recording:
export SSL_CERT_FILE="${HOME}/.speedscale/certs/tls.crt"
proxymock record -- go run .
git clone https://github.com/speedscale/mock-lab && cd mock-lab/go && proxymock record -- go run .
By running this you will start proxymock in recording mode while it runs the app as a child process. Now proxymock is listening on port 4143 for incoming traffic, which it forwards to the demo app running on port 8080. (proxymock also records outbound traffic on port 4140.) You'll see first the proxymock logs then a line across the screen, then the logs for the demo app. It should look something like this:
$ proxymock record -- go run .
proxymock output will be redirected to proxymock/recorded-2025-07-30_15-19-11.417616Z/proxymock.log
Press ctrl-c to interrupt
━━━━━━━━━━━━━━━━━━━━━━━━━━━━━━━━━━━━━━━━━━━━━━━━━━━━━━━━━━━━━━━━━━━━━━━━━━━━━━━━━━━━━━━━━━━━━━━━━━━━━━━━━━━━━━━━━━━━━━━━━━━━━━━━━━━━━━━━━━━━━━━━━━━━━━━━━━━━━━━━━━━━━━━━━━━━━━━━━━━
2025/07/30 15:19:12 Starting HTTP server on :8080
Step 4: Run test transactions
Start a new terminal and run the following command.
- 🍎 macOS
- 🐧 Linux
- ☁️ Codespaces
- 🔧 Other (Detailed)
# from the mock-lab repo root
./lab/tests/run_tests.sh --recording
# from the mock-lab repo root
./lab/tests/run_tests.sh --recording
# from the mock-lab repo root
./lab/tests/run_tests.sh --recording
Make sure port 4143 is forwarded in your Codespace. You should see it automatically forwarded in the Ports tab.
# from the mock-lab repo root
./lab/tests/run_tests.sh --recording
You will now see a set of output from the tests:
$ ./lab/tests/run_tests.sh --recording
Recording mode enabled, using port 4143
Testing GET  http://localhost:4143/... OK (200)
Testing GET  http://localhost:4143/api/projects... OK (200)
Testing GET  http://localhost:4143/api/projects/kubernetes... OK (200)
Testing GET  http://localhost:4143/api/categories... OK (200)
Testing GET  http://localhost:4143/api/stats... OK (200)
Testing POST http://localhost:4143/oauth/token... OK (200)
Testing POST http://localhost:4143/api/orders... OK (201)
Testing GET  http://localhost:4143/api/orders/{order_id}... OK (200)
Http tests passed.
You can now press CTRL-C in the proxymock record terminal window to shut down recording.
You will also see some additional output in the original proxymock terminal window showing requests were handled by the demo app:
2025-07-30T15:31:57-04:00 INF Inbound latency=0.080292 method=GET path=/api/projects query=
2025-07-30T15:31:57-04:00 INF X-Header found header=Content-Type values=["application/json"]
2025-07-30T15:31:57-04:00 INF Outbound host=demo-api.trafficreplay.com latency=64.452875 method=GET status=200
...
Step 5: View recording results
There should be a new directory in the proxymock subdirectory inside mock-lab/go. (An offline recording is also committed at lab/proxymock/recording if you'd rather skip recording and jump straight to mocking.)
ls proxymock
# Output shows recorded directories like:
# recorded-2025-07-30_15-31-43.701537Z
The traffic you just recorded is contained in the most recent directory. In this case that's recorded-2025-07-30_15-31-43.701537Z but it will change based on the date of recording. Each API request can be inspected as a markdown file:
$ cat proxymock/recorded-2025-07-30_15-31-43.701537Z/localhost/2025-07-30_19-56-08.410226Z.md

### REQUEST (TEST) ###
``
GET http://localhost:4143/ HTTP/1.1
Accept: */*
Host: localhost:4143
User-Agent: curl/8.7.1
...
Step 6: Run mock server and tests
Go back to your original terminal (running proxymock record), stop proxymock by running CTRL-C and then start a mock server:
- 🍎 macOS
- 🐧 Linux
- ☁️ Codespaces
- 🔧 Other (Detailed)
proxymock mock -- go run .
proxymock mock -- go run .
proxymock mock -- go run .
proxymock mock -- go run .
Your demo app will now start using the local mock server.
When running proxymock mock your app no longer requires access to backend systems. The app will talk locally to proxymock instead of outside APIs.
Now exercise your demo app by running the same tests we ran before - except using the recording instead of a script. proxymock takes the recorded inbound requests and re-uses them as tests.
Open your second terminal window and run the following:
- 🍎 macOS
- 🐧 Linux
- ☁️ Codespaces
- 🔧 Other (Detailed)
proxymock replay --test-against http://localhost:8080
proxymock replay --test-against http://localhost:8080
proxymock replay --test-against http://localhost:8080
proxymock replay --test-against http://localhost:8080
The proxymock replay command will now run the original inbound transactions directly against your demo app. (You can also kick off a replay from the proxymock web UI.) The demo app no longer requires downstream systems for these tests as they are being simulated by proxymock. You should see a summary table like this:
LATENCY / THROUGHPUT
+--------------------+--------+-------+-------+-------+-------+-------+-------+-------+------------+
|      ENDPOINT      | METHOD |  AVG  |  P50  |  P90  |  P95  |  P99  | COUNT |  PCT  | PER-SECOND |
+--------------------+--------+-------+-------+-------+-------+-------+-------+-------+------------+
| /                  | GET    |  1.00 |  1.00 |  1.00 |  1.00 |  1.00 |     2 | 20.0% |       9.93 |
| /api/projects      | GET    | 12.00 |  9.00 |  9.00 |  9.00 |  9.00 |     2 | 20.0% |       9.93 |
| /api/projects/{id} | GET    | 12.50 | 10.00 | 10.00 | 10.00 | 10.00 |     2 | 20.0% |       9.93 |
| /api/categories    | GET    | 14.00 | 13.00 | 13.00 | 13.00 | 13.00 |     2 | 20.0% |       9.93 |
| /api/stats         | GET    | 53.50 | 14.00 | 14.00 | 14.00 | 14.00 |     2 | 20.0% |       9.93 |
+--------------------+--------+-------+-------+-------+-------+-------+-------+-------+------------+
This demonstrates how you can test your microservice in isolation.
- No need to write tests, you can replay the inbound traffic
- No need to build a test environment, you can mock the dependencies
- If you want to change the data, simply edit the markdown files